...with Austin Smith and John Totaro on their absolutely awesome weekly internet radio show called “Artist Dealings.” I haven’t been so nervous for a long time, so pardon all the brief pauses where I am trying to remember what in the world I was trying to say. While the entire show rocks, skip to the 1:07 mark for my interview with the lovely and talented Austin:
http://kinetichifi.com/listen/archive/?show=artistdealings&title=Artist%20Dealings%20Charleston%20Radio%2011-17-13%20Mike%20Sivilli%20of%20Dangermuffin,%20artist%20JB%20Boyd.mp3
Sunday, December 1, 2013
Monday, November 18, 2013
To Add Atmosphere...
…to this little study, I am glazing it with a light grey.


To try and create a rainy haze effect, I use the the cup on the left on the background, the middle cup for the middle ground, an the right clearest cup for the foreground. Hopefully after two glazes, this will add in light atmospheric perspective.
The Second..
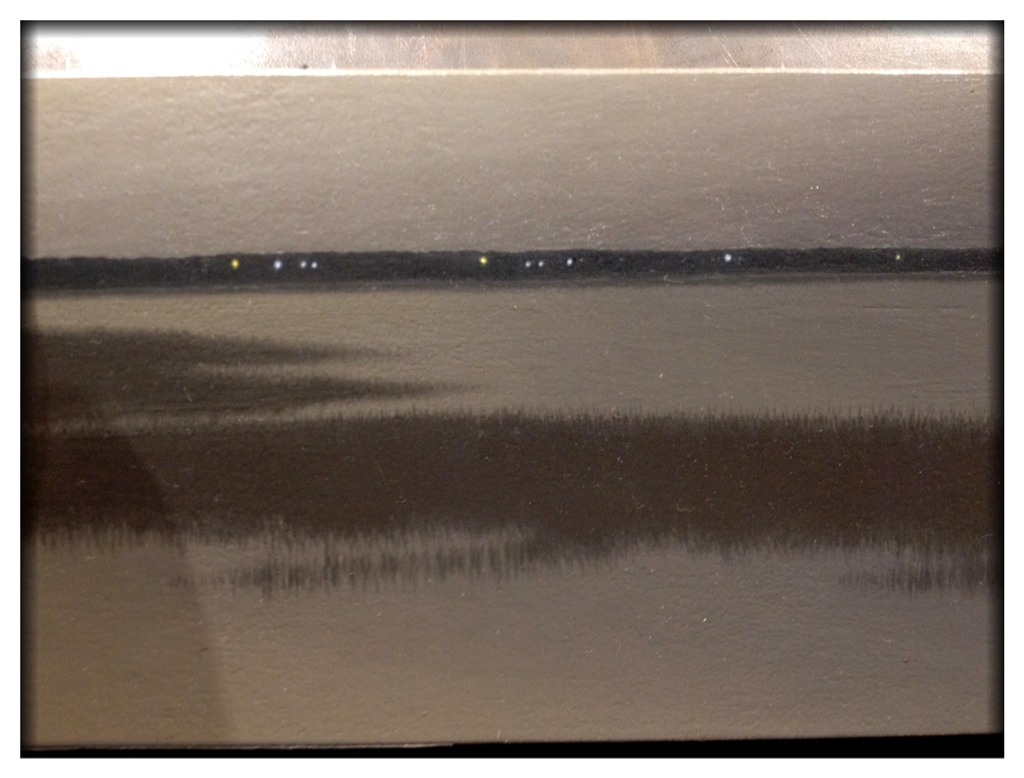
…in the series is the same view, but this time in the darkest of night. The fun part is all the lights dancing along the horizon line.
 Every light has a different hue, so included at the bottom of the top photo is my palette, while the bottom photos show my notes for figuring out which lights are which (night exposure photos don’t do well with color balance).


The lights are painted in first, that way I can paint the sky and water over them to control their very minute shapes.
The First Of The Series of Three...
…is the low tide dusk view. The photo had a stormy sky, but the day I was painting the sky was pouring rain, and I loved how it obscured the true horizon line, so I painted it that way.


After setting it aside to leave the sky and pluff mud foreground to dry, I took the following days to paint in the spartina.

As this is a study, I will not paint in a second layer, but instead play around with some glazes to enhance the rain atmosphere, and turn my attention to the other two studies in the series.
Three Studies...
...are up on the easel. The view is of the entrance to Charleston Harbor, picked because it is a quick block walk from the friendly confines of my studio.
 This series of studies will be loosely confined to dusk at low tide, midnight at a mid tide, and a high tide sunrise.

North versus South
I thought I would post two pics of my N v. S paintings, along with a detail to show off the cool sides of the panel.


I See The Forest...
...for the trees. Every last little one of them!


And just to give you an idea of how long this took to paint, each photo roughly represents a six to eight hour painting session.
The Upcoming Group Show...
…at RLS is themed North vs. South. Nothing speaks more to me about the dichotomy of this theme than the topography of trees. But, which trees?


Sometimes Paintings...
...fall between the cracks, so to say.

In this case, a painting that I could not finish in time for my last solo show got hidden in storage.


Wednesday, July 17, 2013
So Sometime Early Last Fall...
...I had to swim back to my old home because when you leave somewhere, there is always something you forget. This time it was not something I did not pack, but to take notes on what light actually looks like at night.
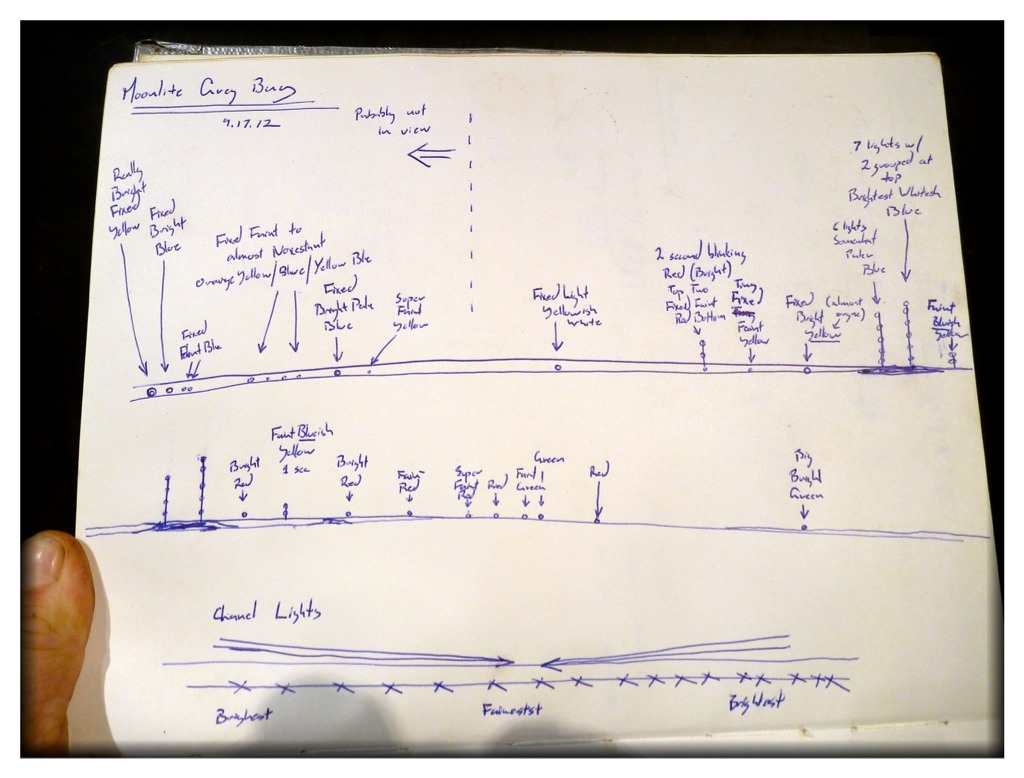
As the white balance in the photo was off and all the lights do not blink at the same time, the next step was translating these notes into colors back in the studio.
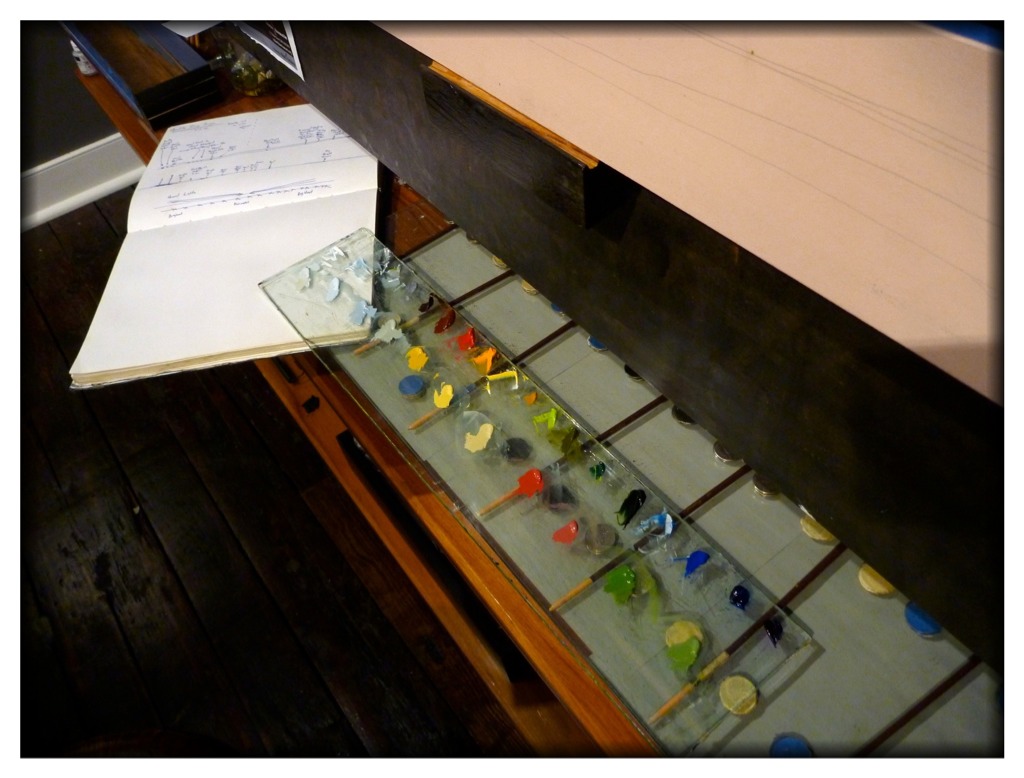
It's a lot of color mixing for such a small amount of paint application.
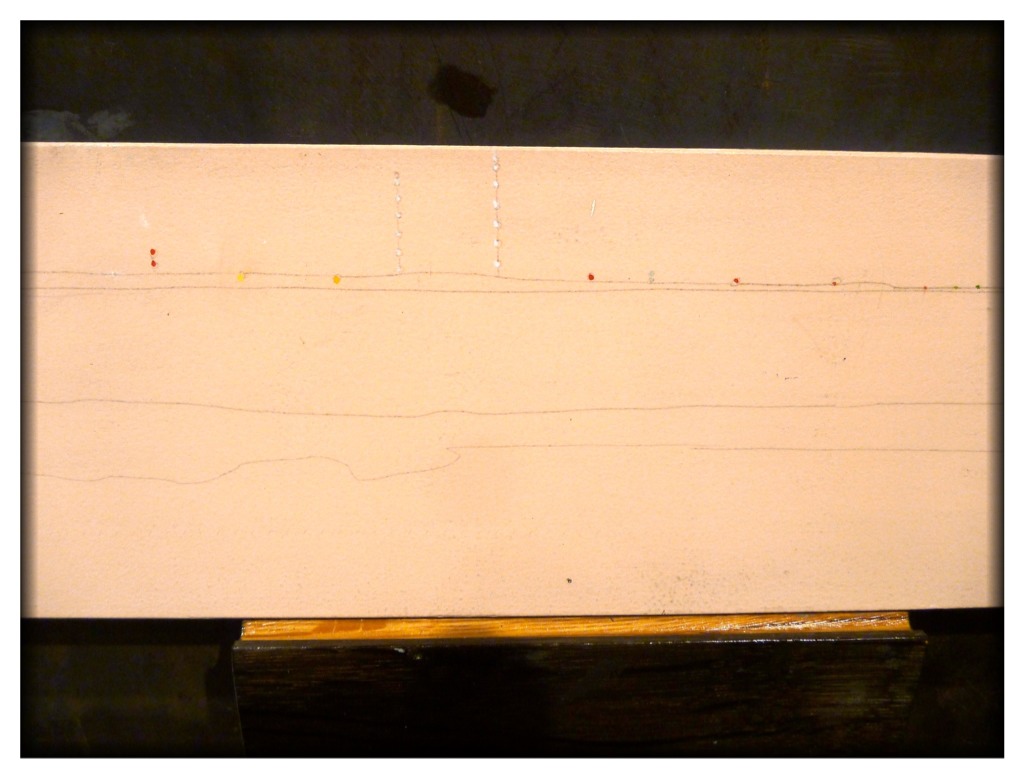
But once the lights were in, I could paint the sky and landscape around them (although to show this step I am skipping to the second layer of paint).
By painting the sky (and later the tree line) over the lights, I accomplish two things. First, I can control the size and the shape of the lights.
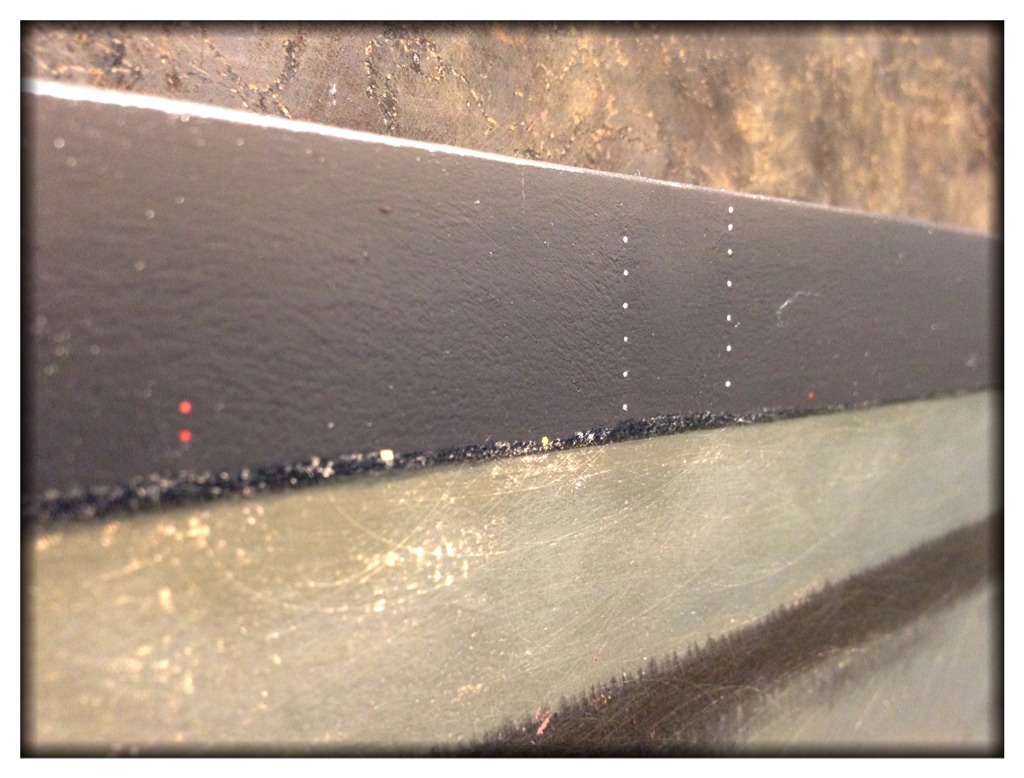
Secondly, I avoid the look of the of the lights being plopped on top of the painting. Think of any bad starry night painting you have seen.
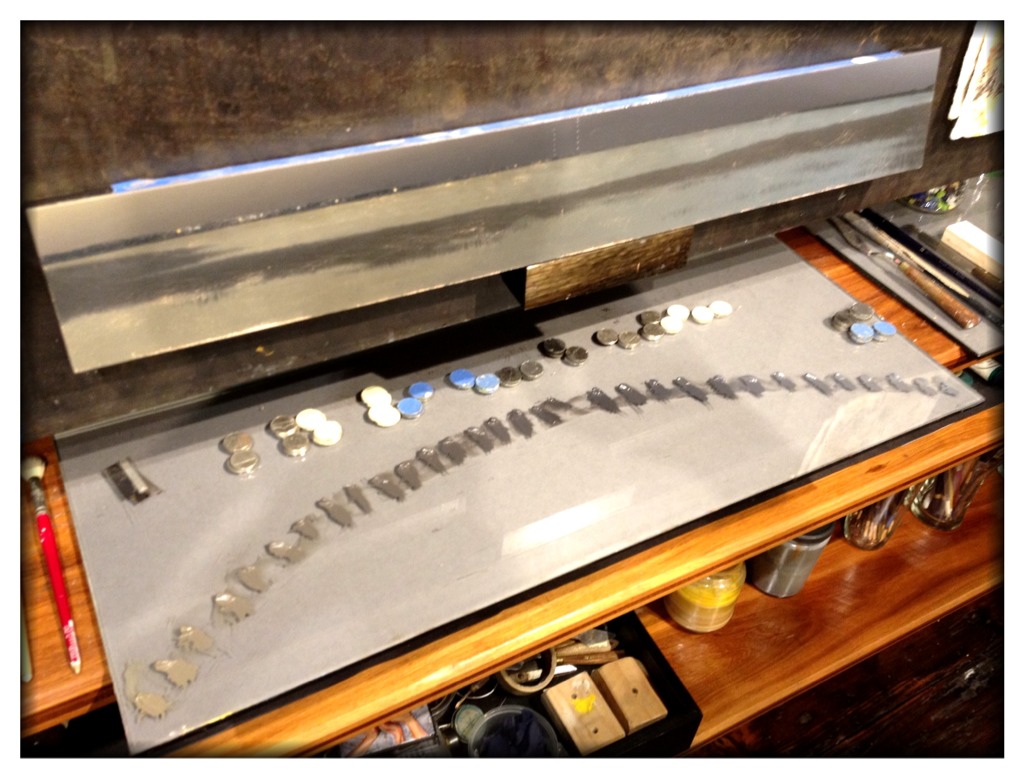
And just in case you were wondering, the above is a shot of my palette and how many different colors go into one sky. Light pollution courtesy of N. Charleston is to the left, and moonlight provided by Artemis is to the right.
Now I can focus on the water and marsh reflecting the sky in the middle ground and foreground, with the same style of palette gradient to accomplish it.
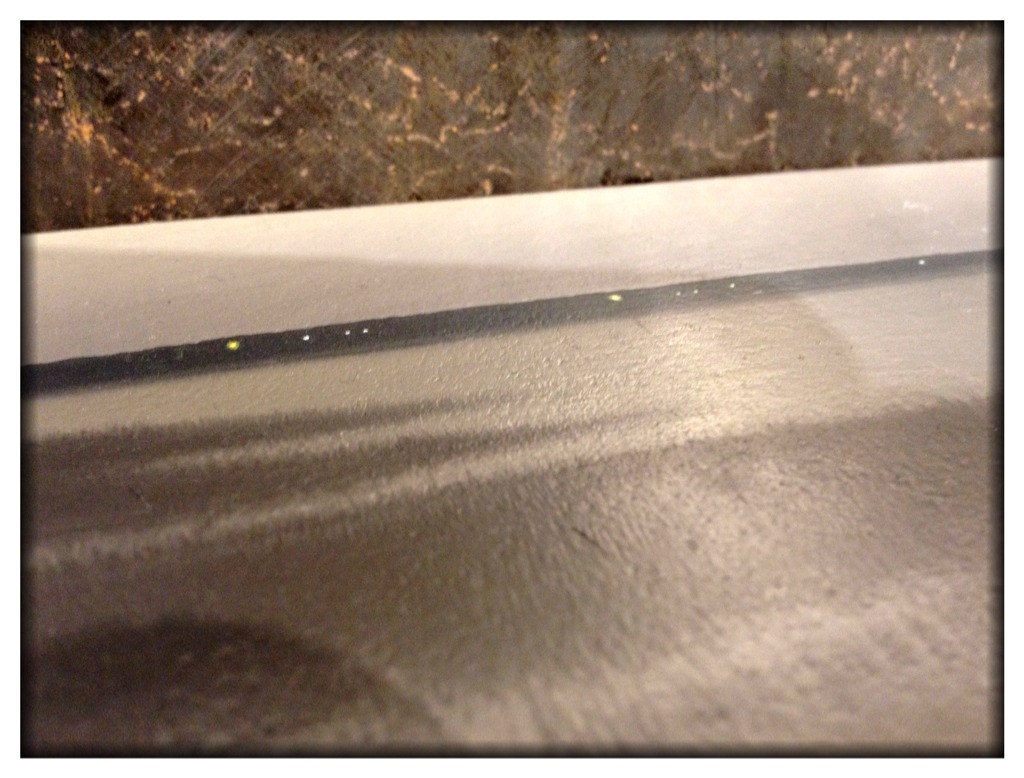
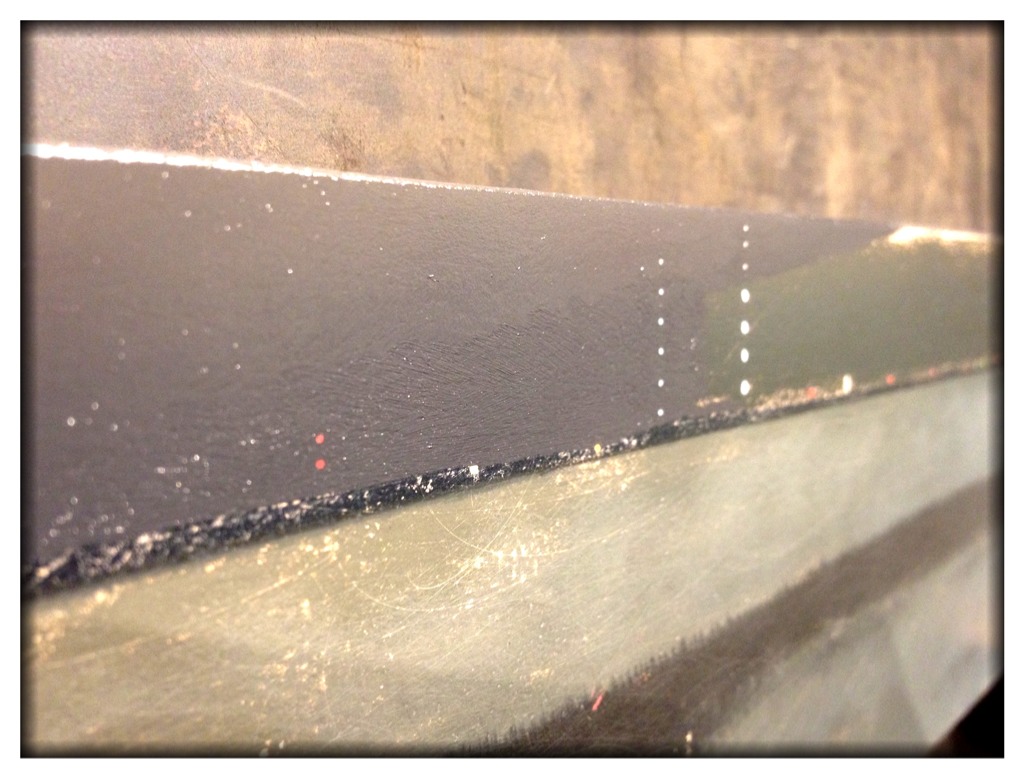
Finally in the category of difficult work, I wanted to soften the edges of the little lights. Think of a star or a streetlight, and how they have a small halo around them.
In the previous picture, only the yellow lights had a small, transparent glaze painted around them. In the picture above, all the lights are softened by this small (but very large for the stress of its nerve-wracking precision) glaze.

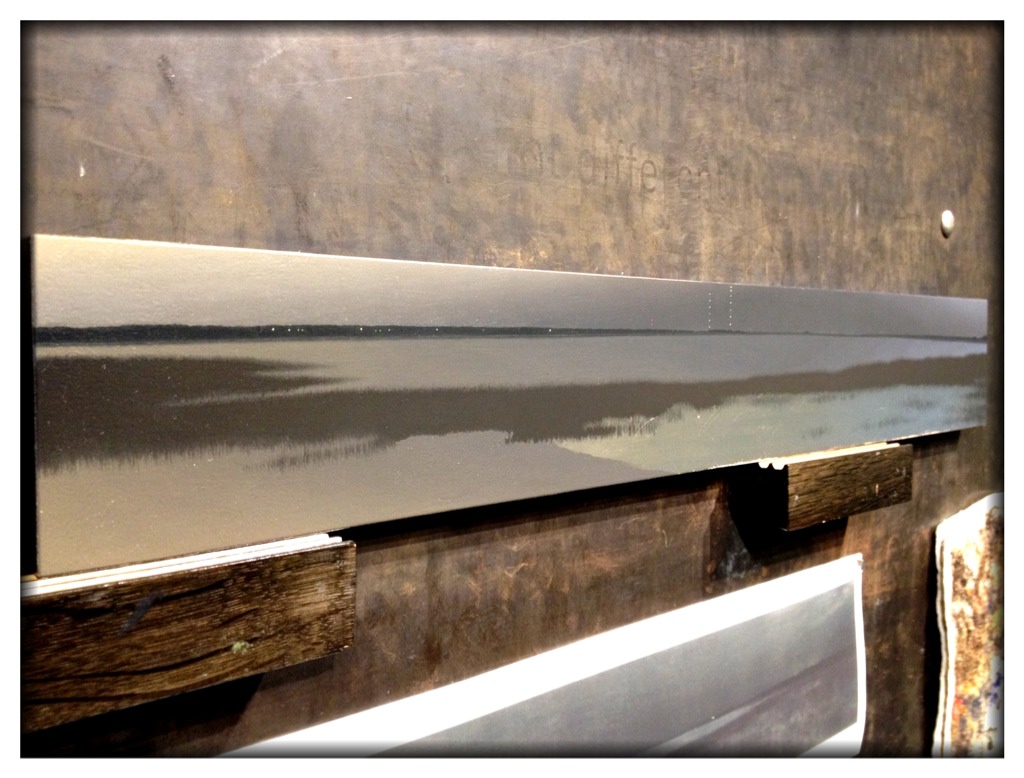
The last layer is a true, all over, glaze layer, which I sometimes use to adjust the overall tone or atmosphere of a painting. But in this case, it was just a clear coat to even out the sheen until a varnish can be applied.
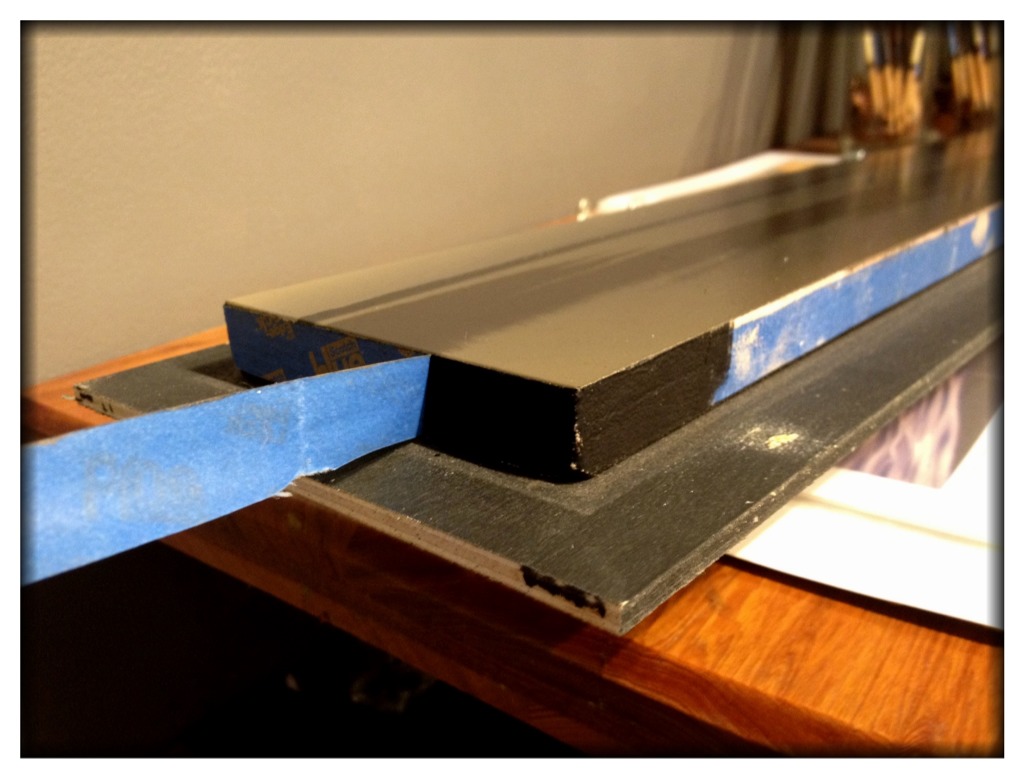
And just because this post was not long enough, here is my favorite part, pulling off the tape (props to Scotch Blue Edge Lock for making superior tape ;), exposing the sides that I painted black nearly two years ago, and dropping it in its home, the frame:
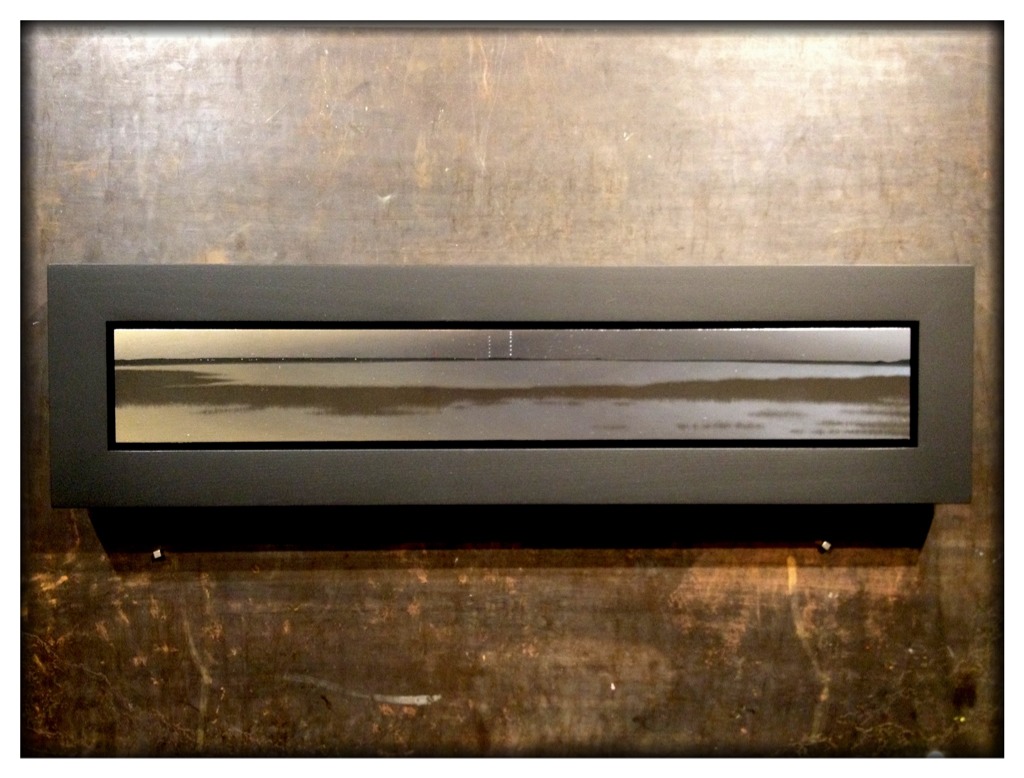
And ul 104 (sink or swim) is done!
-jb.
As the white balance in the photo was off and all the lights do not blink at the same time, the next step was translating these notes into colors back in the studio.
It's a lot of color mixing for such a small amount of paint application.
But once the lights were in, I could paint the sky and landscape around them (although to show this step I am skipping to the second layer of paint).
By painting the sky (and later the tree line) over the lights, I accomplish two things. First, I can control the size and the shape of the lights.
Secondly, I avoid the look of the of the lights being plopped on top of the painting. Think of any bad starry night painting you have seen.
And just in case you were wondering, the above is a shot of my palette and how many different colors go into one sky. Light pollution courtesy of N. Charleston is to the left, and moonlight provided by Artemis is to the right.
Now I can focus on the water and marsh reflecting the sky in the middle ground and foreground, with the same style of palette gradient to accomplish it.
Finally in the category of difficult work, I wanted to soften the edges of the little lights. Think of a star or a streetlight, and how they have a small halo around them.
In the previous picture, only the yellow lights had a small, transparent glaze painted around them. In the picture above, all the lights are softened by this small (but very large for the stress of its nerve-wracking precision) glaze.
The last layer is a true, all over, glaze layer, which I sometimes use to adjust the overall tone or atmosphere of a painting. But in this case, it was just a clear coat to even out the sheen until a varnish can be applied.
And just because this post was not long enough, here is my favorite part, pulling off the tape (props to Scotch Blue Edge Lock for making superior tape ;), exposing the sides that I painted black nearly two years ago, and dropping it in its home, the frame:
And ul 104 (sink or swim) is done!
-jb.
Sunday, April 28, 2013
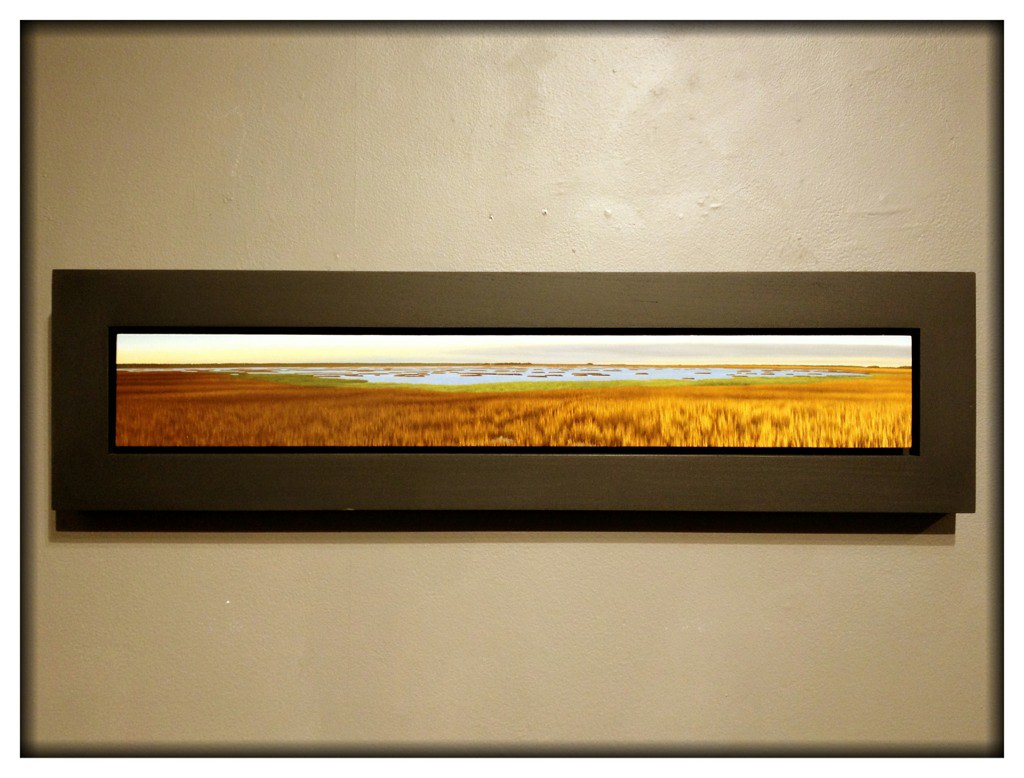
Although There Is A Video...
...documenting the entire process in the works, here are a few progress shots of my newest painting.
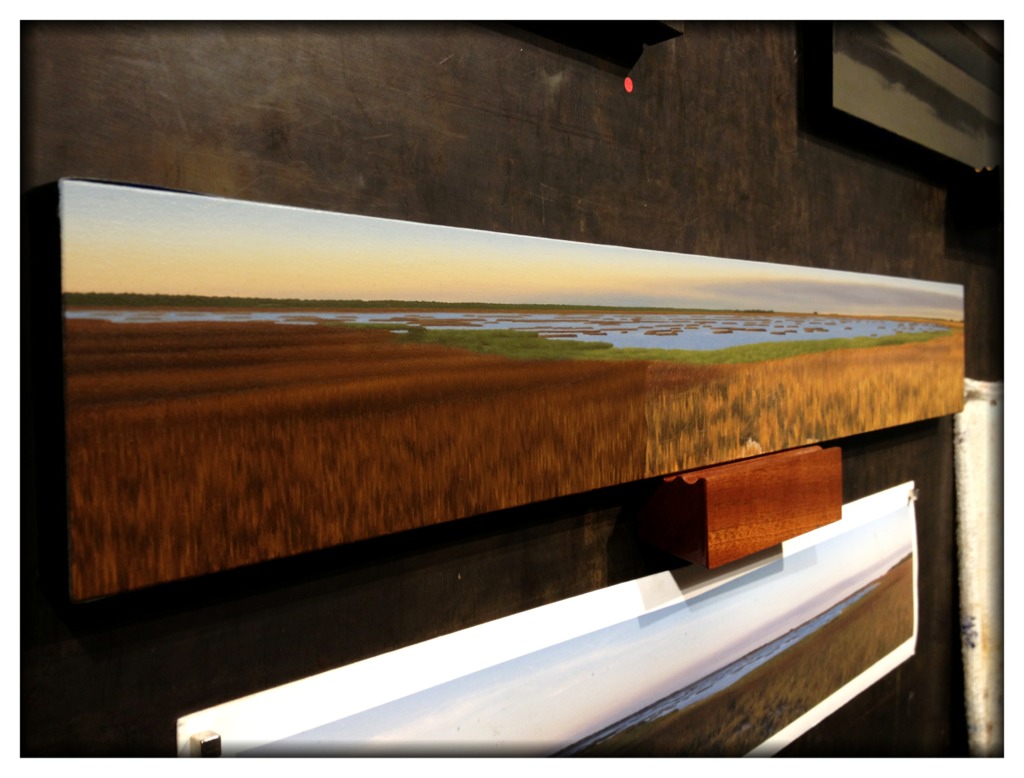
Aside from the delicacy of painting the oyster beds, the greatest challenge in this painting was making the transition from marsh grass in shadow to the full light of the setting sun.

It didn't work well in the first layer, and so I slowed down and focused on getting it right in the second.
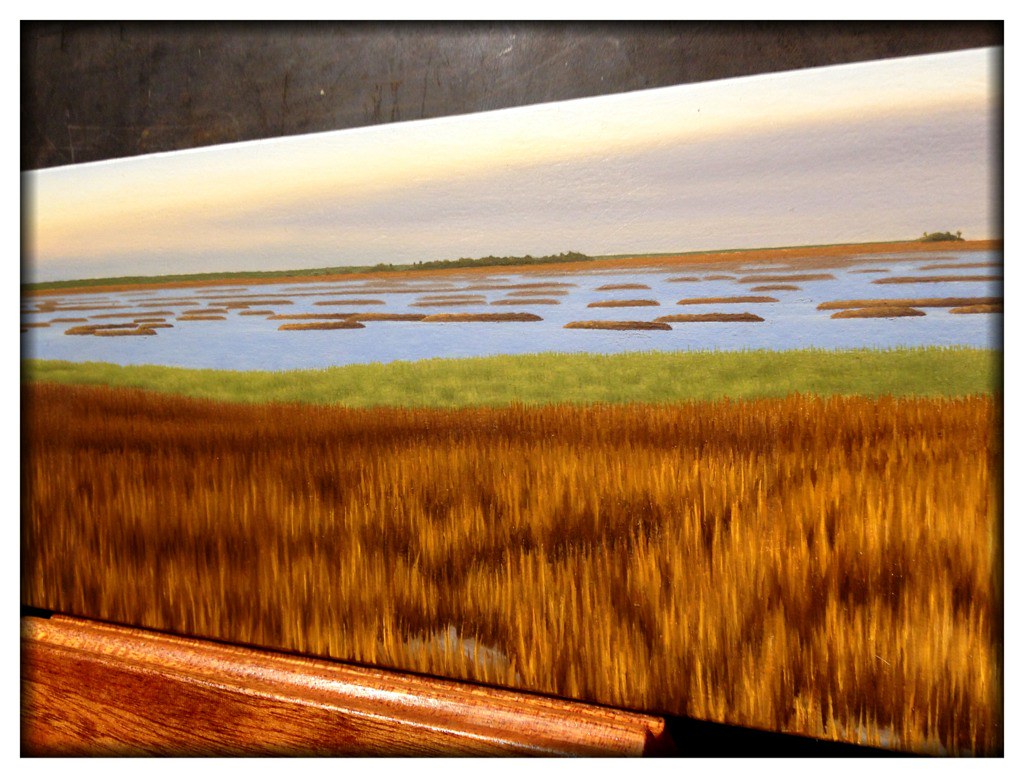
With a glaze of Indian Yellow to bring out the highlights and give it a setting sun kick, I think it came out great!
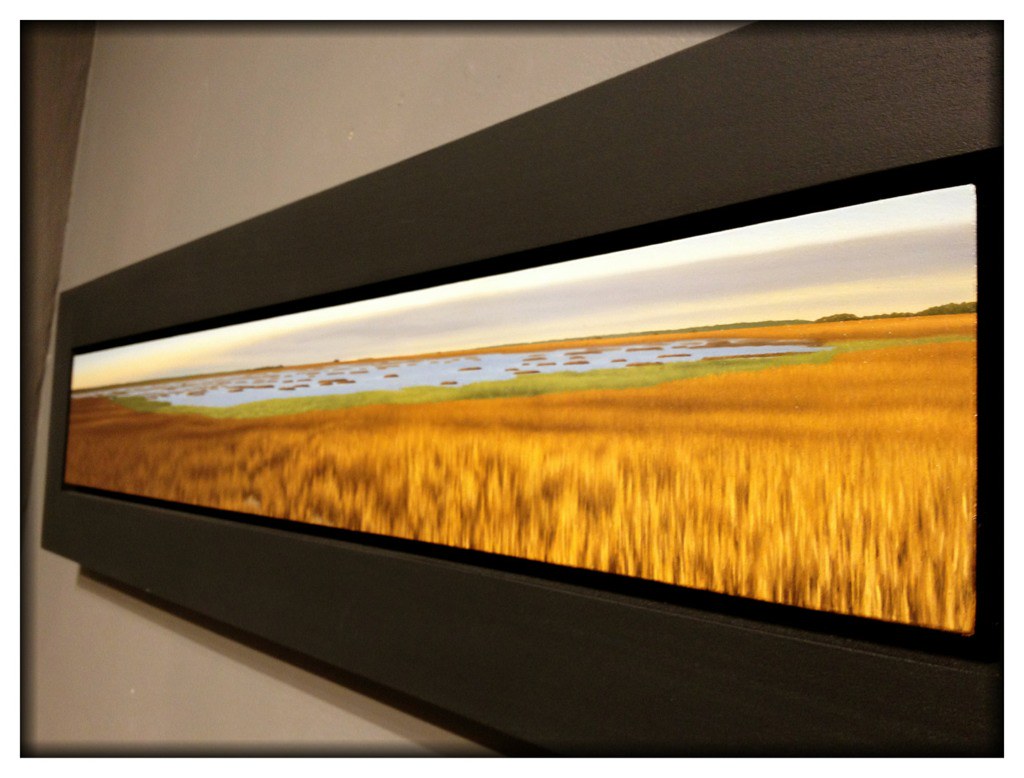
It is titled ul 102 (standing at the threshold) and measures 9 x 33" in its frame.
-jb.
Aside from the delicacy of painting the oyster beds, the greatest challenge in this painting was making the transition from marsh grass in shadow to the full light of the setting sun.
It didn't work well in the first layer, and so I slowed down and focused on getting it right in the second.
With a glaze of Indian Yellow to bring out the highlights and give it a setting sun kick, I think it came out great!
It is titled ul 102 (standing at the threshold) and measures 9 x 33" in its frame.
-jb.
Sunday, April 7, 2013
For The "Evolution" Group Show...
...I took the opportunity to step in a different direction.
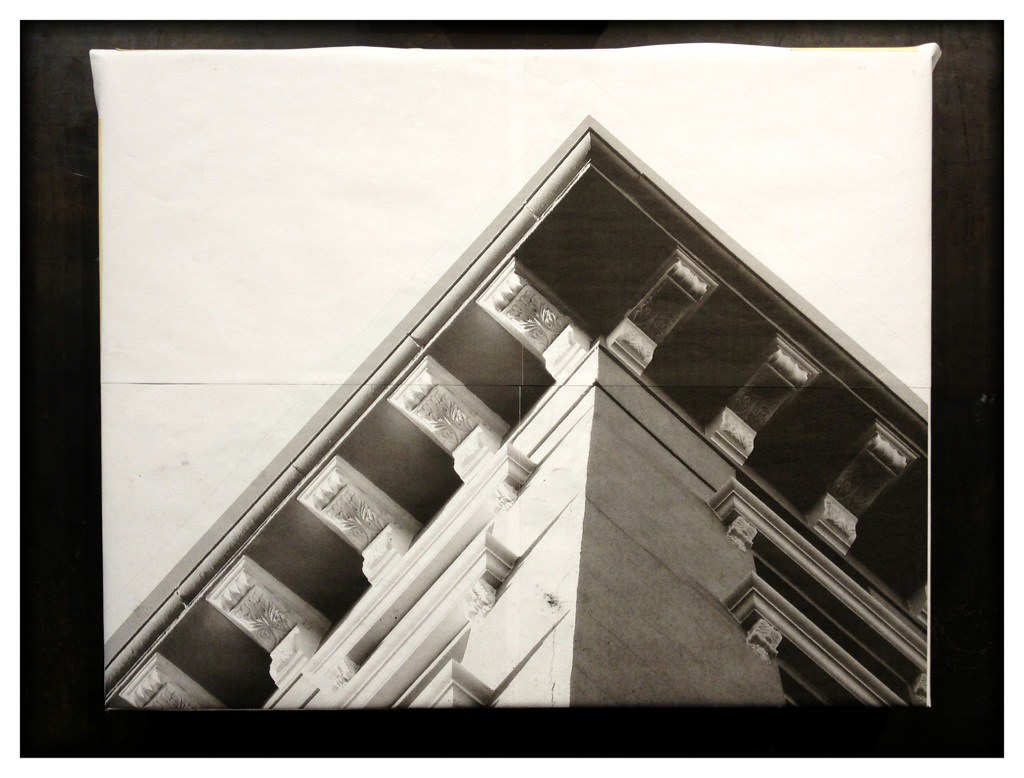
As my "before" painting was architectural in nature, I chose to paint one of my favorite cornices in Charleston.
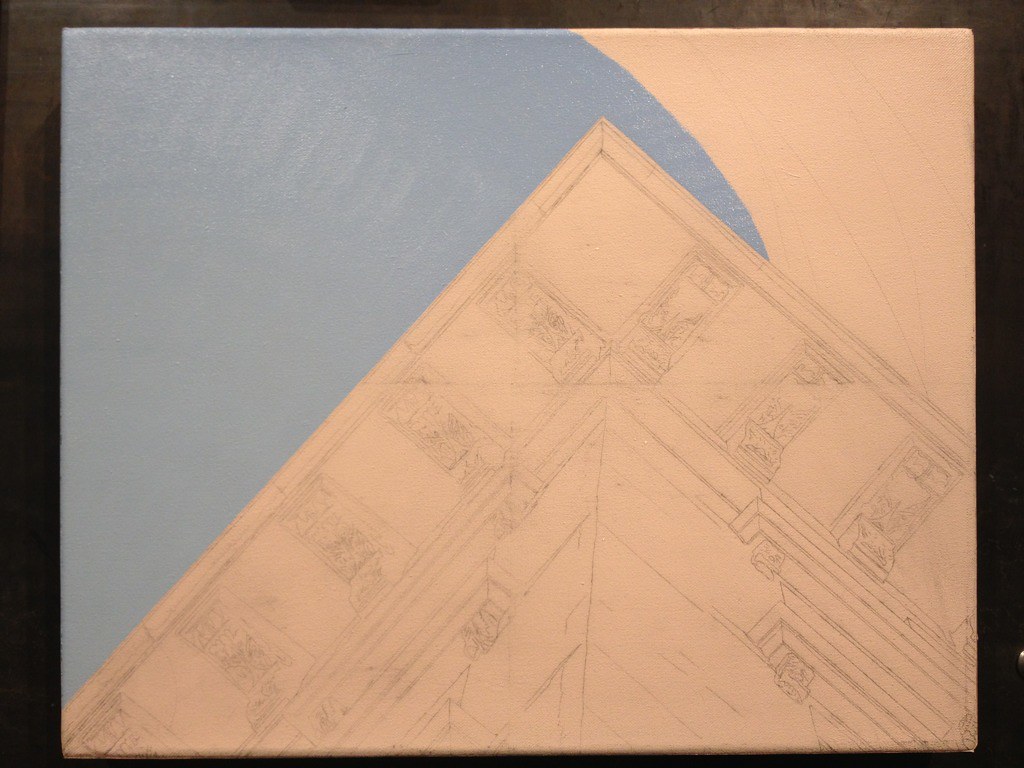
It is the fourth architectural landscape that I have created in the past dozen years.
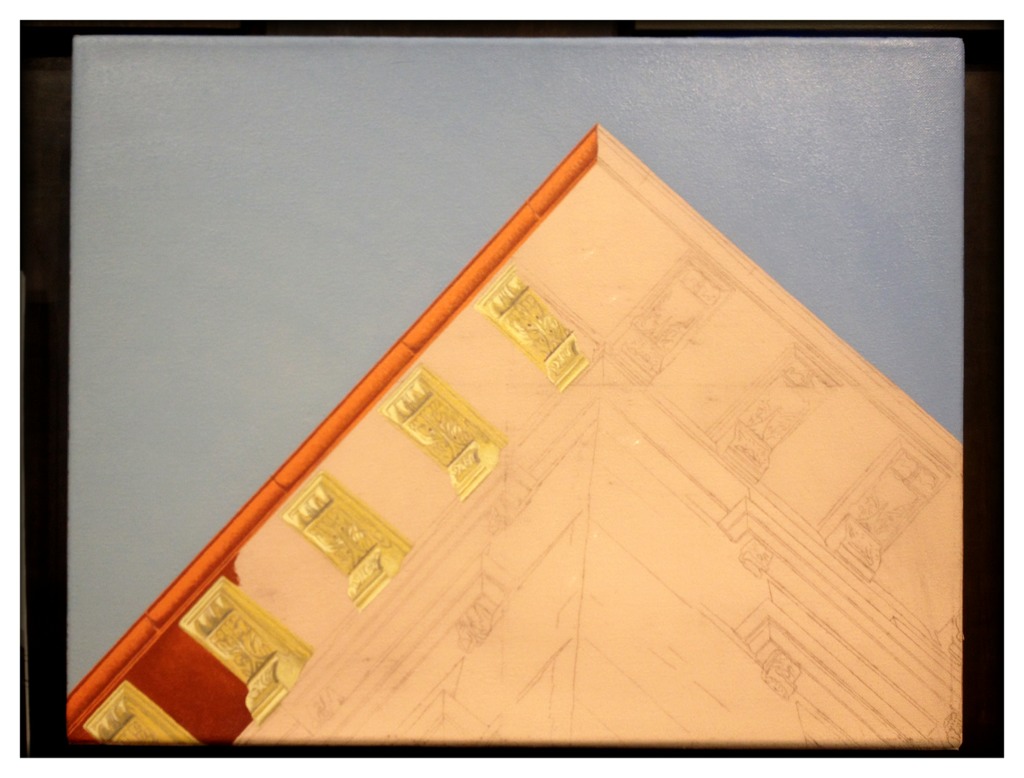
The main trick was to remember to catch the sunset and the late light bouncing off the building, taking notes on the colors and hues.
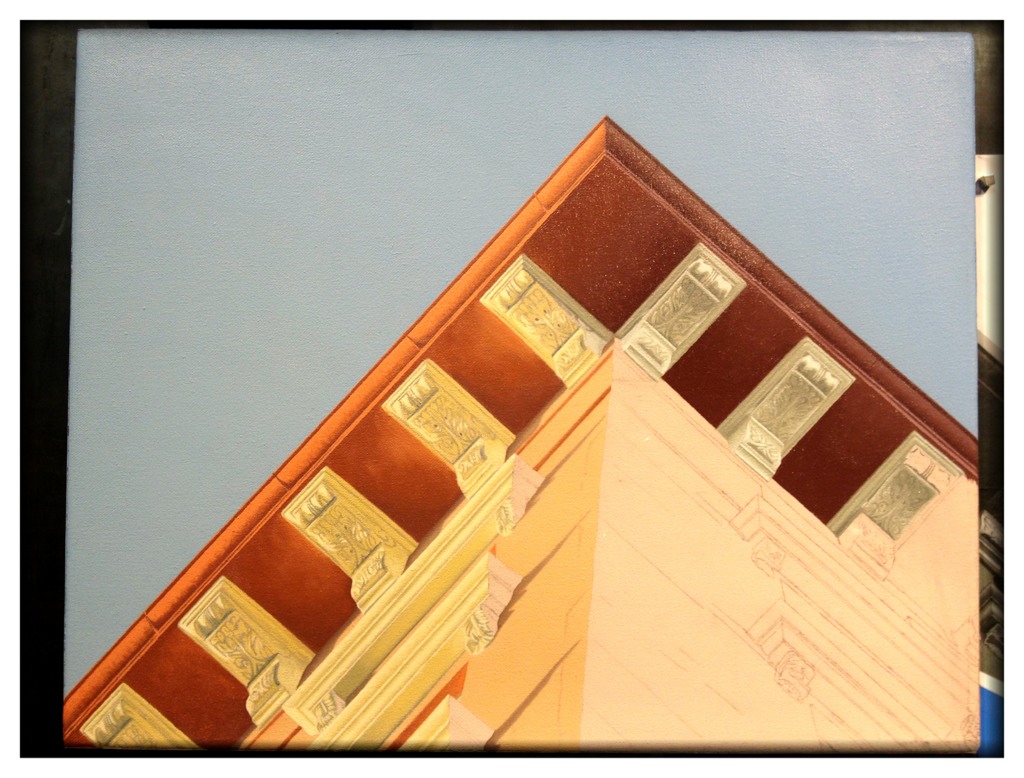
Photographs only go so far, and the vagaries of printing sometimes distort what is captured via the camera (just like these photos vary in colors).
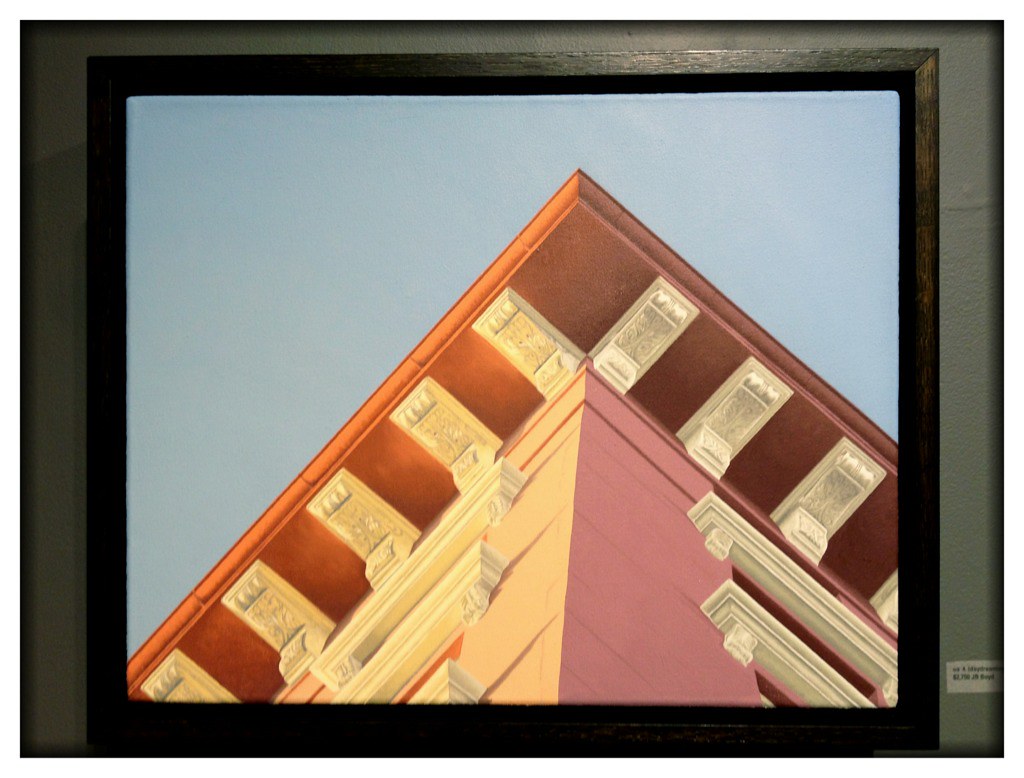
But photography's main advantage is the level of detail captured, and freezing the moment, so I didn't have to freeze outside painting it!
-jb.
As my "before" painting was architectural in nature, I chose to paint one of my favorite cornices in Charleston.
It is the fourth architectural landscape that I have created in the past dozen years.
The main trick was to remember to catch the sunset and the late light bouncing off the building, taking notes on the colors and hues.
Photographs only go so far, and the vagaries of printing sometimes distort what is captured via the camera (just like these photos vary in colors).
But photography's main advantage is the level of detail captured, and freezing the moment, so I didn't have to freeze outside painting it!
-jb.
Subscribe to:
Posts (Atom)