Saturday, December 24, 2011

Merry Christmas...

...Colin's Mom & Dad! Your son must love you a lot, for he has traded his time and considerable skills for my time and skills as a painter to paint your saw.


The process won't be quick, so please be patient, but you can follow the making of your painting on this blog!


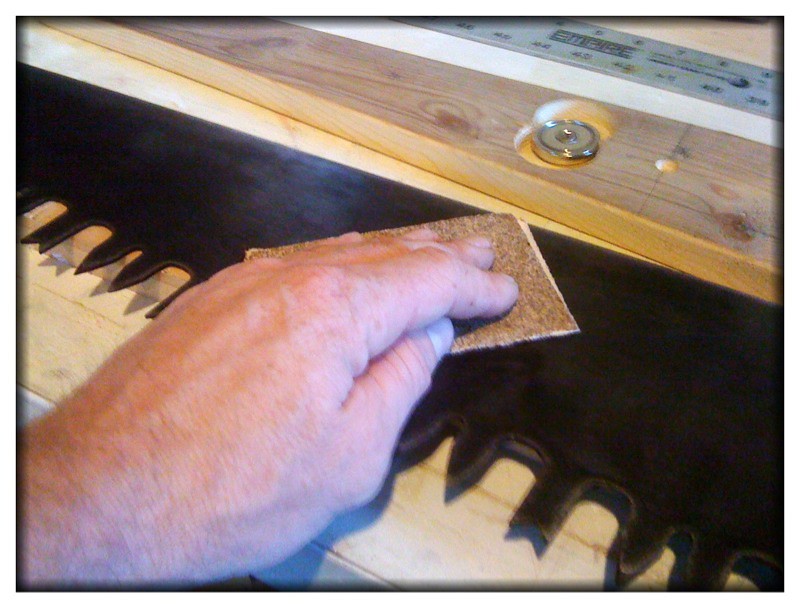
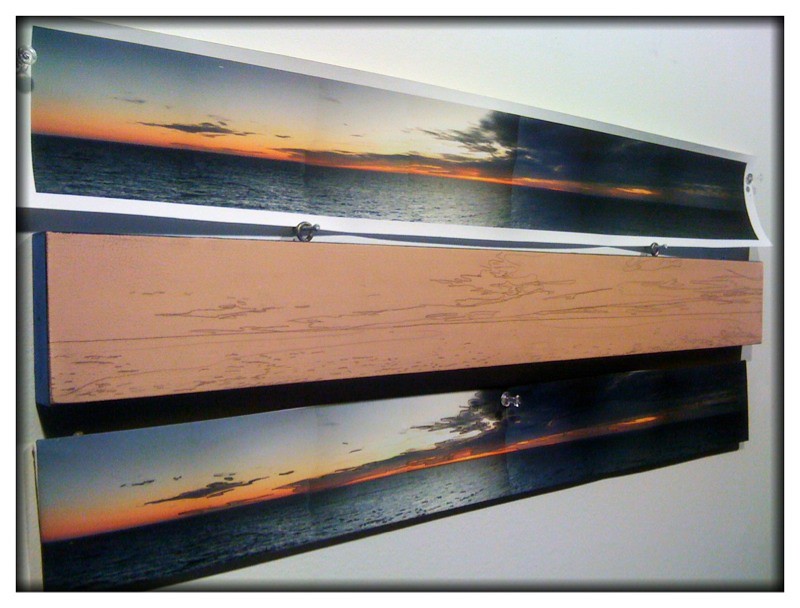
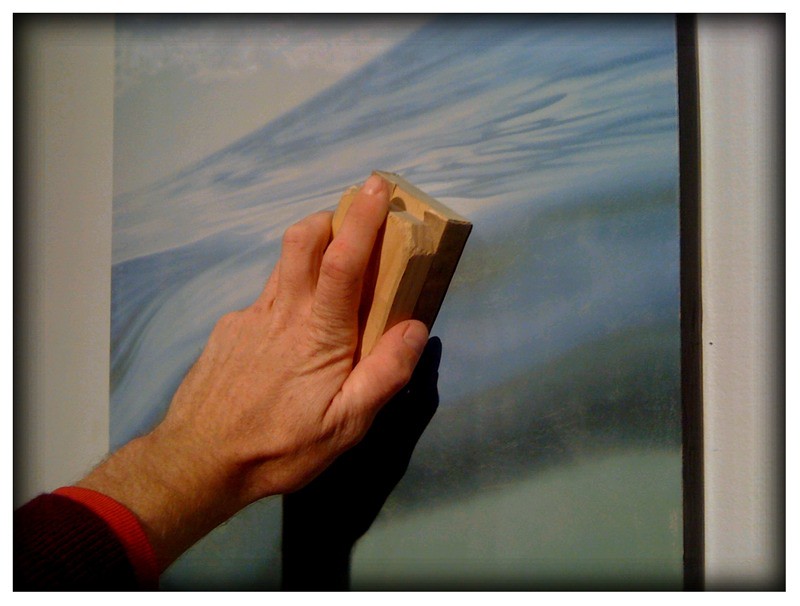
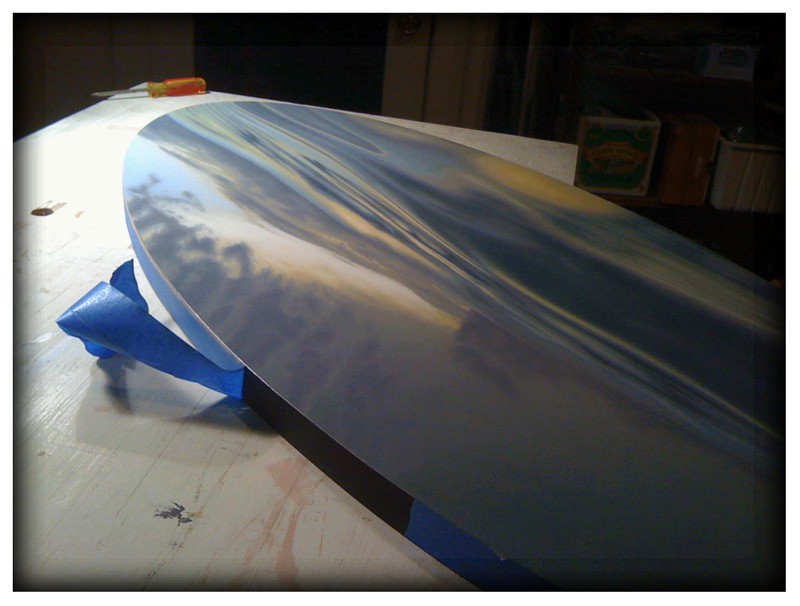
Here I'm giving it a light sand by hand to add a little tooth back in after going over it with an orbital sander and using solution to remove as much rust as possible.


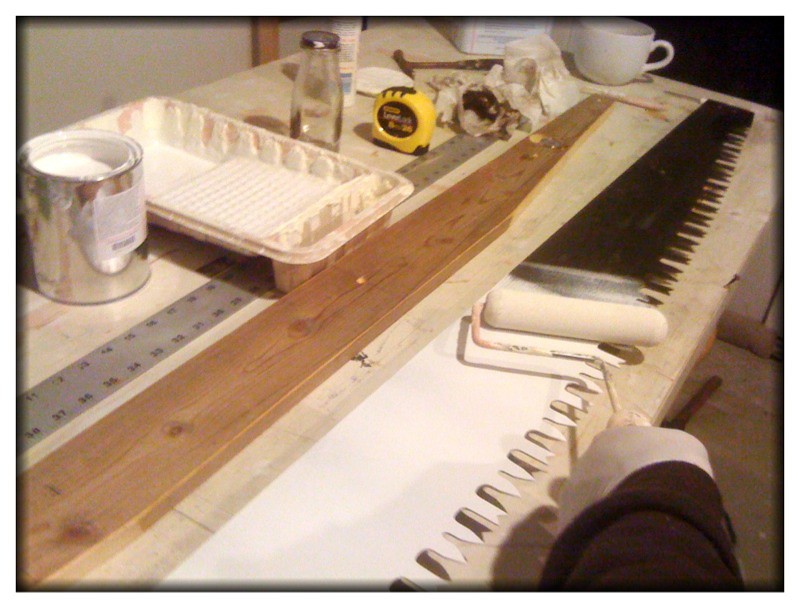
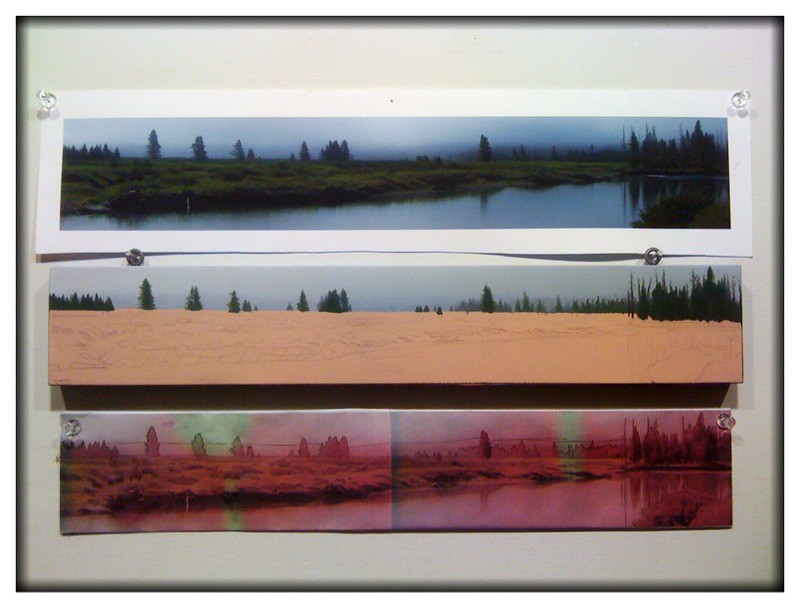
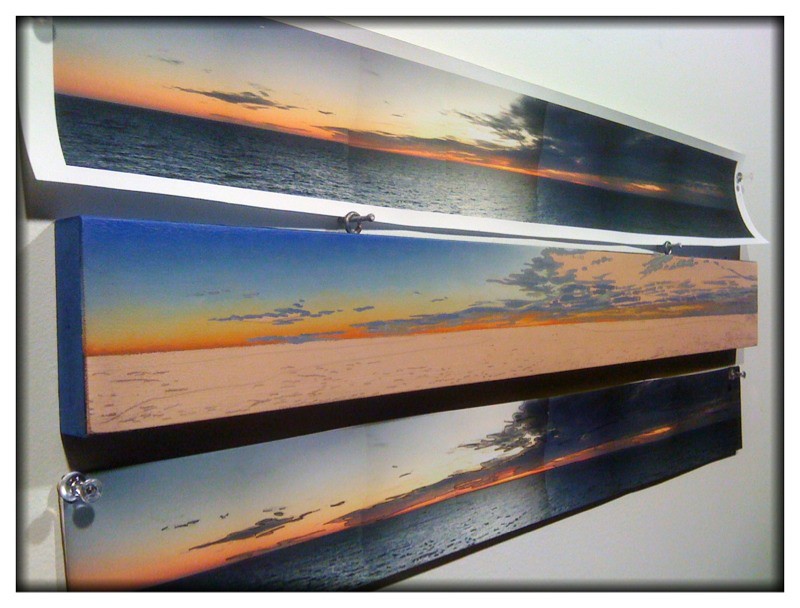
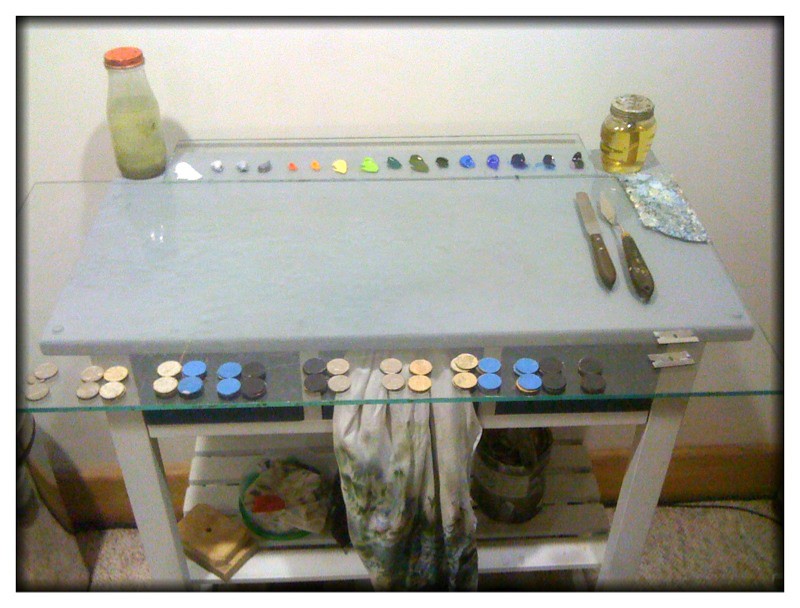
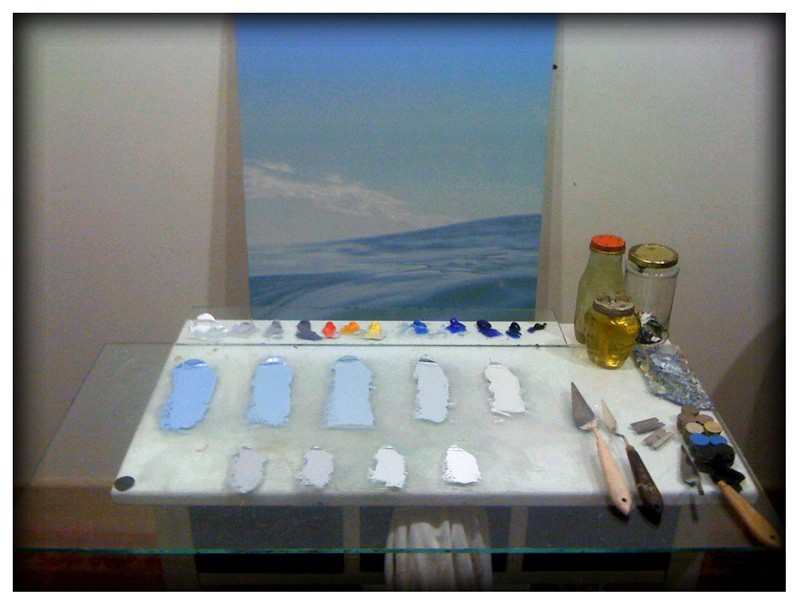
Then I roll out oil ground paying close attention to cover all the edges. This will dry in a few days, then I'll flip it and do the other side, completely sealing it in the repetition of this month long process.


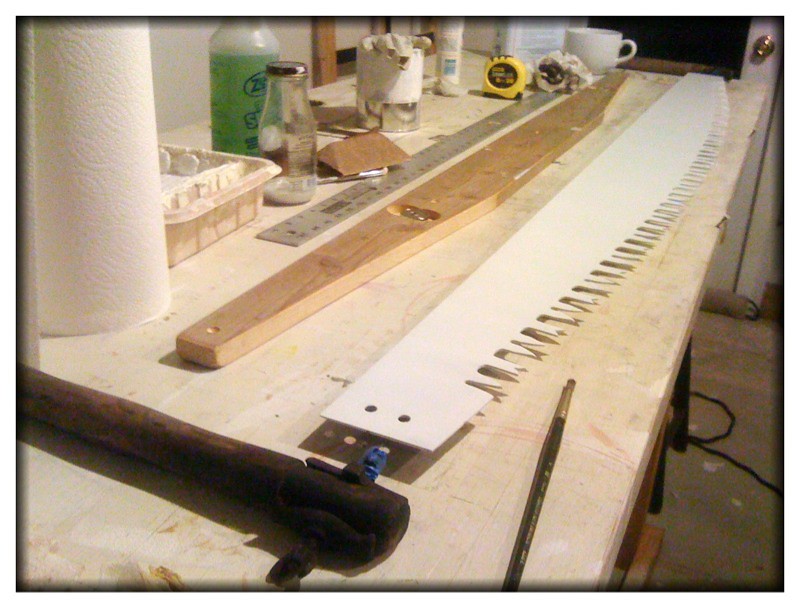
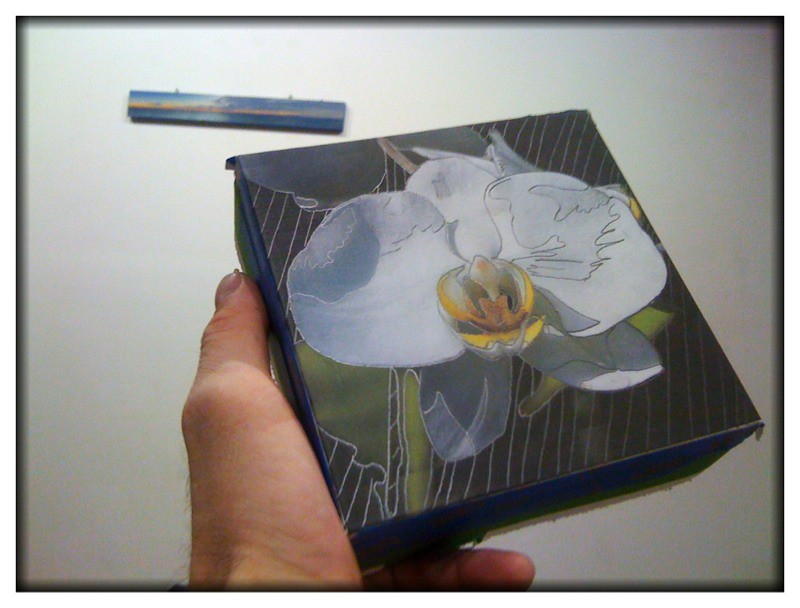
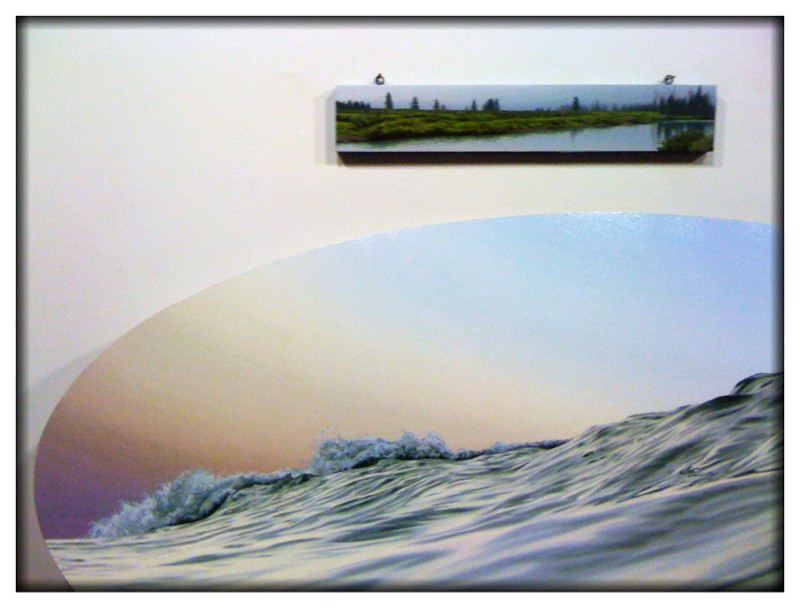
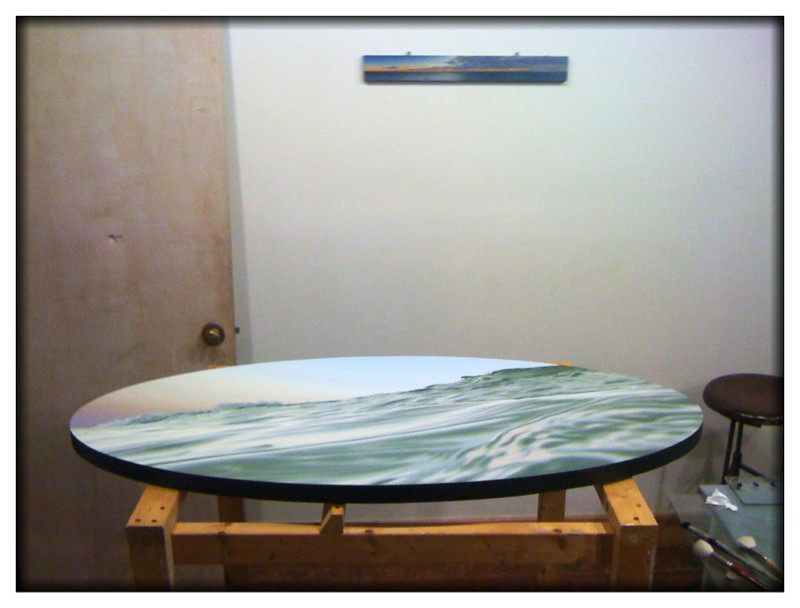
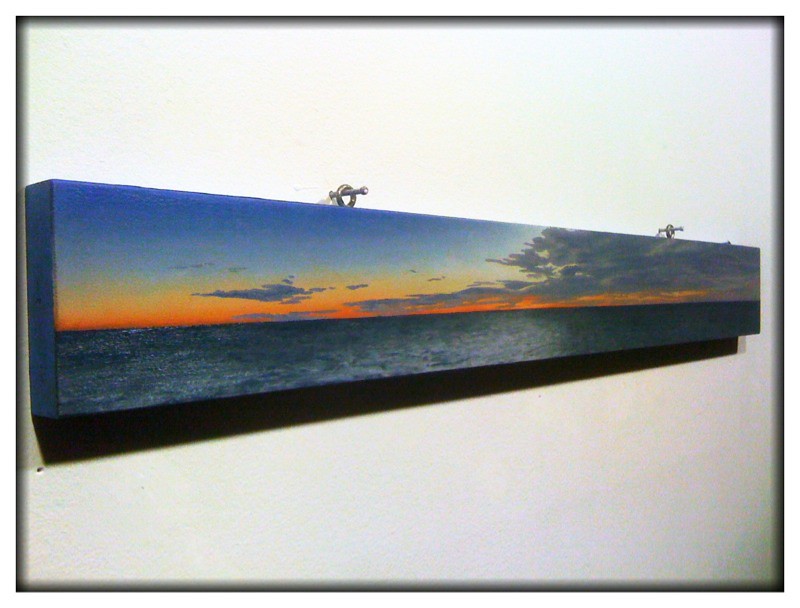
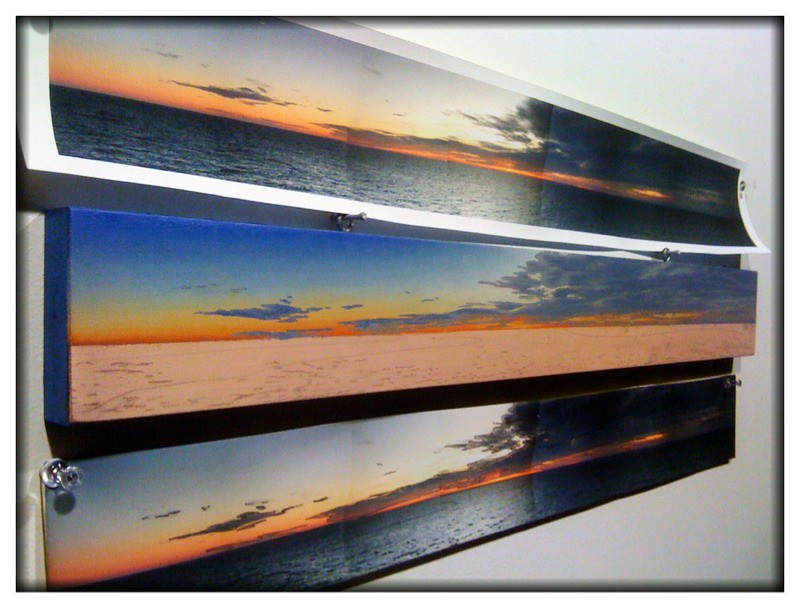
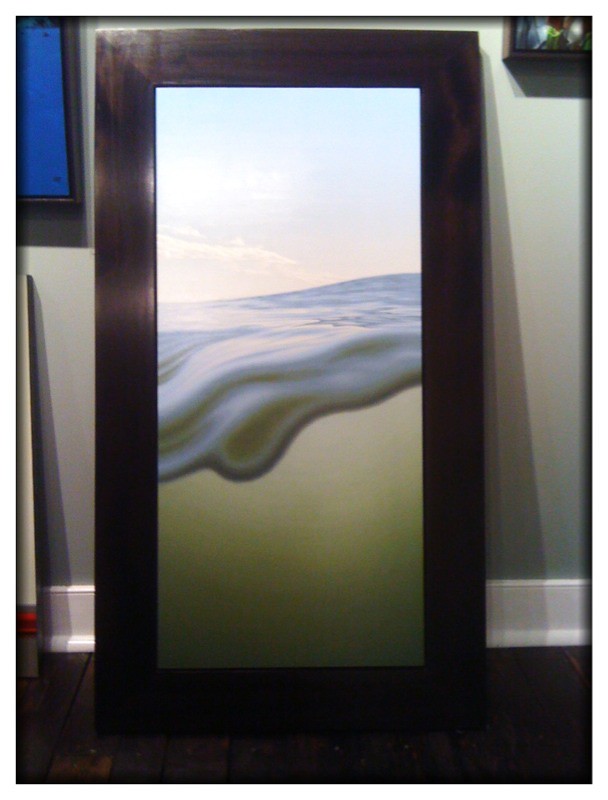
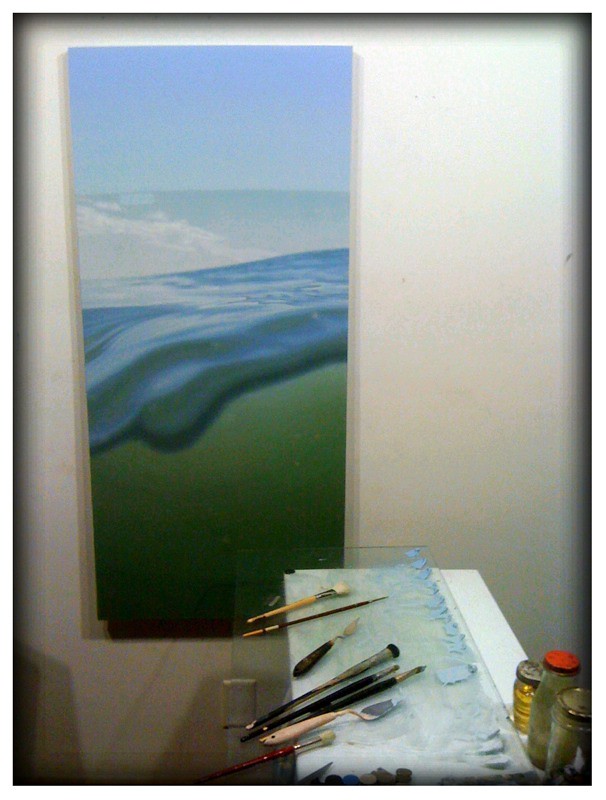
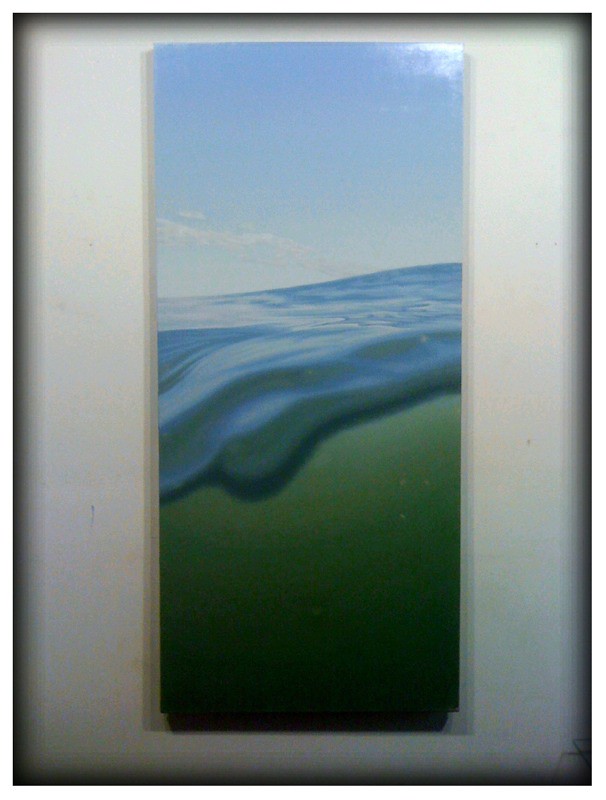
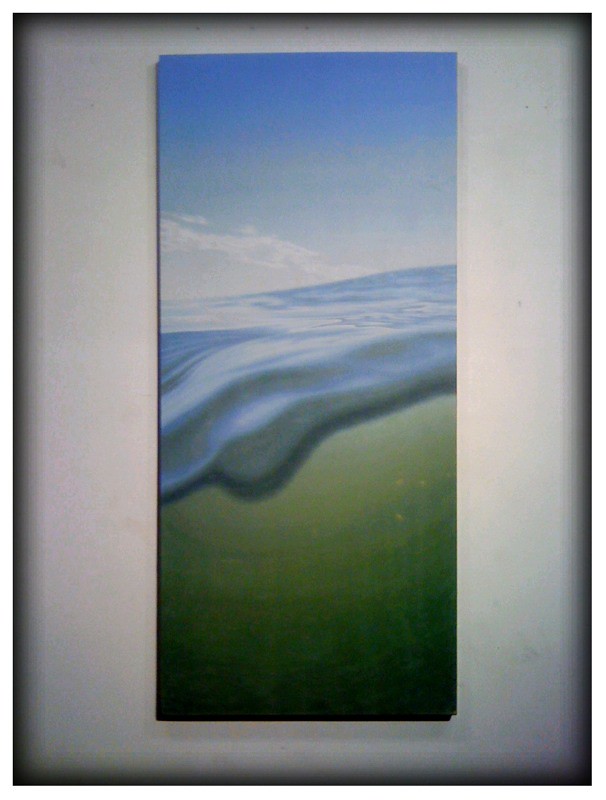
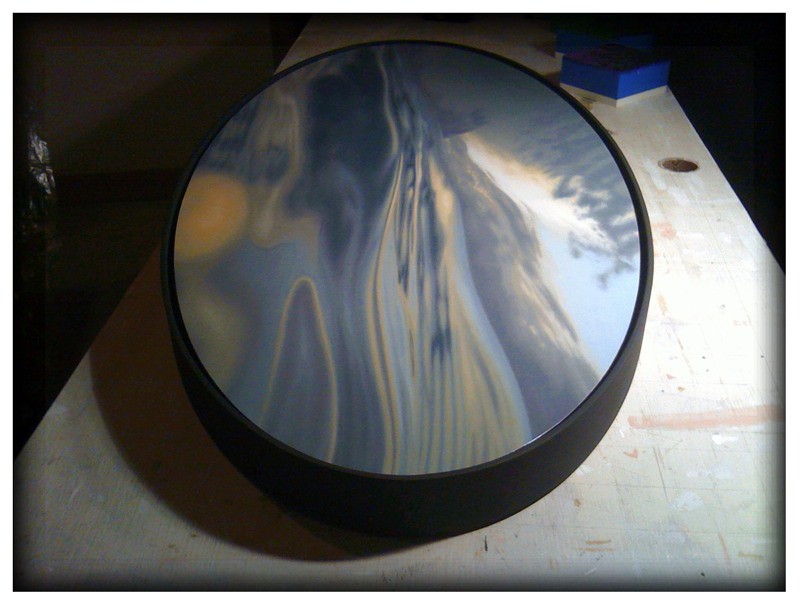
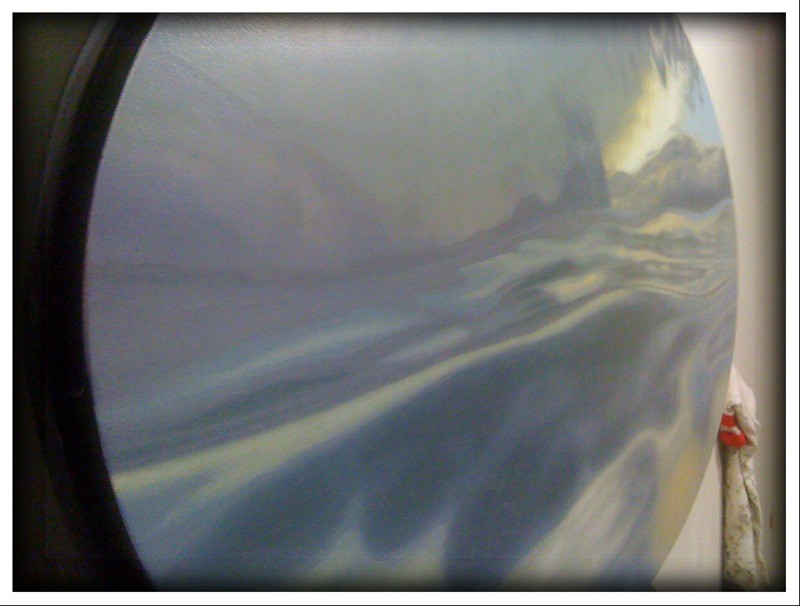
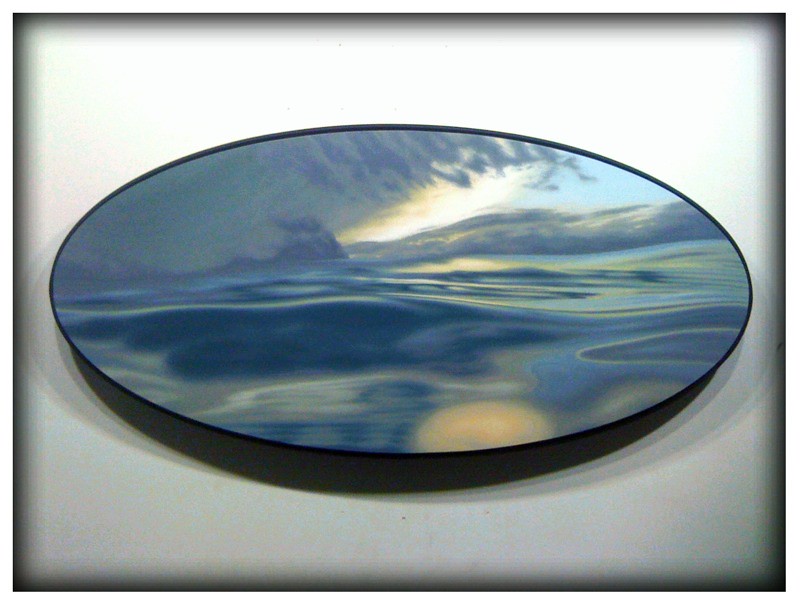
But tonight I get to smile at the blank surface of this uniquely shaped painting, imagining all the things it may be, and I hope you share my excitement for this unique gift!

- jb boyd

Friday, December 23, 2011

Happy Birthday Mom!

I so glad you chose a late but original present over on time and generic, because this flower will never go bad. Here is the reference photo taped over the panel.


With charcoal spread over the back of the photo, I've traced the needed shapes. A simple line drawing is the result.


To build values of light and dark, I use burnt sienna and burnt umber which will do the trick and dry quickly.


I used a little bit of yellow too, forgetting that it does not dry quickly, and have been waiting a week for it to dry. Errr.


I was hoping to have it finished and photographed for you today, but instead check back in to the blog to see it grow, knowing the entire time that I love you and thank you, for everything you have helped me to be!

- jb

Wednesday, December 14, 2011

Couple Of Progress Shots...

...are the pictorial subject of this post.


You can clearly see the charcoal scribbles on the orangey-pink panel left from the transfer process which the lowest image was used for.


This first layer of paint is the process of blocking in shapes, establishing big lights and darks in tone.


Some artists would call this painting complete, as from a few steps back (or in a low resolution photo) the illusion of space is successful.


But I want to pack as much as possible in this little painting. I want an illusion of atmosphere that sticks when your nose is practically touching it.


So this painting goes to the drying wall (to hang out with "us 22 (eternal life)" which is now complete) and most likely will be put aside for a time until I have the time to paint the next layer.

- jb boyd

Monday, December 12, 2011

The Final Layer...

...goes on tonight. Well, sort of. Sort of because hopefully it will get a varnish in a year or so, and I might put a clear transparent coat on tomorrow night, but tonight I have three tasks.


Clean up the dark greens in the water, smooth the transition in the sky, and add flecks of sea foam to soften the edge along the crashing wave. And then it will be done (sort of)!


- jb boyd

Friday, December 9, 2011

Small Paintings Are...

...such a delight. The wall is big enough to keep all the reference material, a day's work is actual progress, and I don't feel pugilistic in using little brushes.


Thinking about it now, I probably should have painted this under-layer in a simple monotone of burnt sienna or even sap green, given that the values of tonality will define this painting, but this will do too.

- jb boyd

Wednesday, December 7, 2011

Two Views...

...of a completed first layer. Now that I have a road map of what the painting will look like, I can plan out where it needs to go.


But for now it will go to the big wall to dry, and yet stay in my sight line so I can make those decisions while I work on another.


- jb boyd

When I Travel...

...I make sure to take the scenic route. I've seen a large swath of this country in this manner, but over this Thanksgiving, I found a new corner to which I will return.


Even better, I got a photo on the first trip! Who knows if it will make it to a painted form, but I simply adore the rolling hillsides covered in young winter wheat.

- jb boyd

Tuesday, December 6, 2011

The First Neglected Painting...

...is a small commission of a fiery sunset.


The top image is the reference photo.


The middle pink panel is the painting surface.


And the bottom image is a photo that I have used to trace the main shapes onto the panel.


All the prep was done a long time ago, so it's nice to pick it off the storage wall and get working!

- jb boyd

Saturday, December 3, 2011

Is It Still Spring Cleaning...

...if it happens between Thanksgiving and Christmas? Either way, it is one of those rare times my studio walls are empty of any project(s), so out comes the house paint and spackle to hide the holes, paint spatters, crushed bugs, and smudges from my dirty feet on the walls that accumulate from painting to painting.


I have a bunch of long neglected small paintings and unfinished studies to work on the small wall, but I'm wondering what big project should go on the big wall.


And I'm loving having now clean brushes. These are the work horses of my arsenal. But I am most excited about a spray paint face lift for my mixing tables.


The grey now under the glass creates a neutral tone to judge mixed paints against. Hopefully this will eliminate the surprises when it looks great on the palette but is way off on the painting.

- jb boyd

Monday, November 28, 2011

HTMaGPG: Part 7

Step 12: Finish it up. Because I took the time and energy to really get things right in this second layer, there are only a few things left to do. The first is get it back in it's frame and down to the gallery.


The second is to give it a slight glaze layer. This is really an isolation layer because there is no color in it, as it is a transparent layer. But it gives the painting an even sheen until it can be varnished, and then when the painting is varnished, it will keep the varnish from adhering to the paint. Years (even decades) down the road, the varnish can be removed and reapplied without affecting the paint layers.


Now all that is left to do is sign the back of the painting and leave it to dry. Hopefully the couple who loved it in it's process will also love the completed painting and it will soon be hanging in a new home!

- jb boyd

Saturday, November 26, 2011

HTMaGPG: Part 6

Step 11: Remember. Way back when I posted about about a color change in the water with a storm pushing in the bluer ocean water to the coast. I still wanted to keep the dark green typical coastal Carolina water, but use the lighter colors to add a little hope and positivity and also create some symmetry with the sky. So basically I added more light to the top of the gradient, and ended it with a similar value of green. Should have snapped a before, but here is the after:


- jb boyd

Thursday, November 24, 2011

HTMaGPG: Part 5

Step 10: Keep the devil down in a hole (FYI, devil=details). And here in the foreground area above the waterline, I actually want to control the level of detail, making sure there are no sharp edges or noticeable points where the soft blurs look created.


This is especially important at the waterline, which is the biggest color shift (in the smallest area) in this painting.

- jb boyd

Friday, November 18, 2011

HTMaGPG: Part 4

Step 9: Reflect the sky. The brilliance of water is how it is a mirror to whatever is around it.


Using the excess paint that was mixed for the sky and creating the darker tones that you don't see in that section, I paint the water.


These photos are each a day's work, with the main care going into smoothing the curves and keeping the colors clean.


And I have a new app for the frames around these photos. I'll be trying out different ones. If there is one you like best, leave a comment and let me know!

- jb boyd

Tuesday, November 15, 2011

HTMaGPG: Part 3

Step 8: The devil is in the details. With the sky freshly completed and it's paint is still wet enough to work into it, I will use this time to fill in the clouds and establish a soft horizon line.


Using a 2-iron from my golf bag as a maul stick, and probably getting the best use I've ever had from it, I can paint the top of the clouds without dragging my hand through wet paint.


And while you can barely see what I did with the horizon, it is probably the most important four hours I will spend on this painting. The gentle arc creates the wave, while just the right amount of softness creates the illusion of space. But this takes patience and time. As I said, the devil is in the details.

- jb boyd

HTMaGPG: Part Duex

Step 6: Oil it out. This is where a long discussion on how paints dries should be. But that would make for a very long post. Instead, think of what's in the glass jar (thinned stand oil) as glue for paint.


To properly adhere a new layer to the previous, I drip a small amount onto the cloth and thinly spread it over the surface. If you look at the painting, the area above my hand is ready and has a shine to it. I continue down to the horizon line, the area I hope to complete in 48 hours before the "glue" dries.


Step 7: Make one big color shift. Although this is a long day and it is structured and meticulous work, it is gratifying to seamlessly and slowly shift from an intense blue down to a soft yellowish grey. On the right of the glass palette above, you can see the color range to that point.


Here the sky is finished, leaving the clouds and horizon line for the next day.

Sunday, November 13, 2011

How To Make A Good Painting Great

Step 1: Ignore everybody (who say they love it). This is easy when your studio is on an island, but when you're painting downtown it is much harder. There is a point when a painting is done though...


Step 2: Use magic. Or hangman hangers to make the painting float on the wall.


Step 3: Sand. This removes all the brush stroke topography of the previous layer so if you change something, there isn't a ghost image of what was underneath.


Step 4: Mix paint. These are my base colors that the sky gradient will go through, with the cloud colors under that.
Step 6: Get some sleep. The next day (which will be long) is all ready to go...

- jb boyd

Friday, November 11, 2011

F.F.T.A.B.A.: #4

Continuing my list of why I love being an artist is number four: pulling the tape off the edges and getting a finished piece in it's frame.


Pulling the tape is incredibly gratifying because the slop along the sides is replaced by a clean crisp black line. Also, it represents completion, as the tape has been quietly waiting months and sometimes even years for this moment.


And although I painted this one in it's frame, it is always nice to see the finished product in it's house. Now all it needs is a home!

- jb boyd

Wednesday, November 9, 2011

Sadly The Digital World...

...is not kind to the reproduction of my art. Then add on the limitations of the 72dpi, 16 color world of the Internet, with pictures taken on my aged iPhone and you get where I'm headed.


But I took this completion series of photos for the blog, so why not share them?


And you will just have to trust me that the colors got cleaner, the transitions are silky smoother, and something in fact was going on in this final layer.


In case you didn't see me working on this (us 20 (grace)) in the gallery during my solo show, it is a 24" tall by 50" wide oval painting on panel.


Special thanks go to Matt and Colin of Handcrafted Construction LLC, who made both the panel and ovular floater frame (no easy trick).


Their work always exceeds my expectations, and thrills me to stay out of the workshop and in the studio instead. Thank You Thank You gents!


-jb boyd

Monday, November 7, 2011

Turns Out...

...I was burnt out. It wasn't a lack of inspiration, or the mythical "painter's block," just plain too much work and pushing too hard for too long. Exhibit A:


This pic was taken in the middle of a 36 hour paint/work/photo-a-thon to tie up all the loose ends before several paintings shipped at the conclusion of my solo show. Yes, the crazy face was apparent. Exhibit B:


It took me the month of October to finish the second and final layer of just the water of "u.s. 20 (grace)". Even by my standards, this was a long, grinding process. But now I am back. The sun drops earlier, the low light is inspirational, and I am ready to make some mad paintings...

Off to work. Woo-hoo!

- jb boyd